
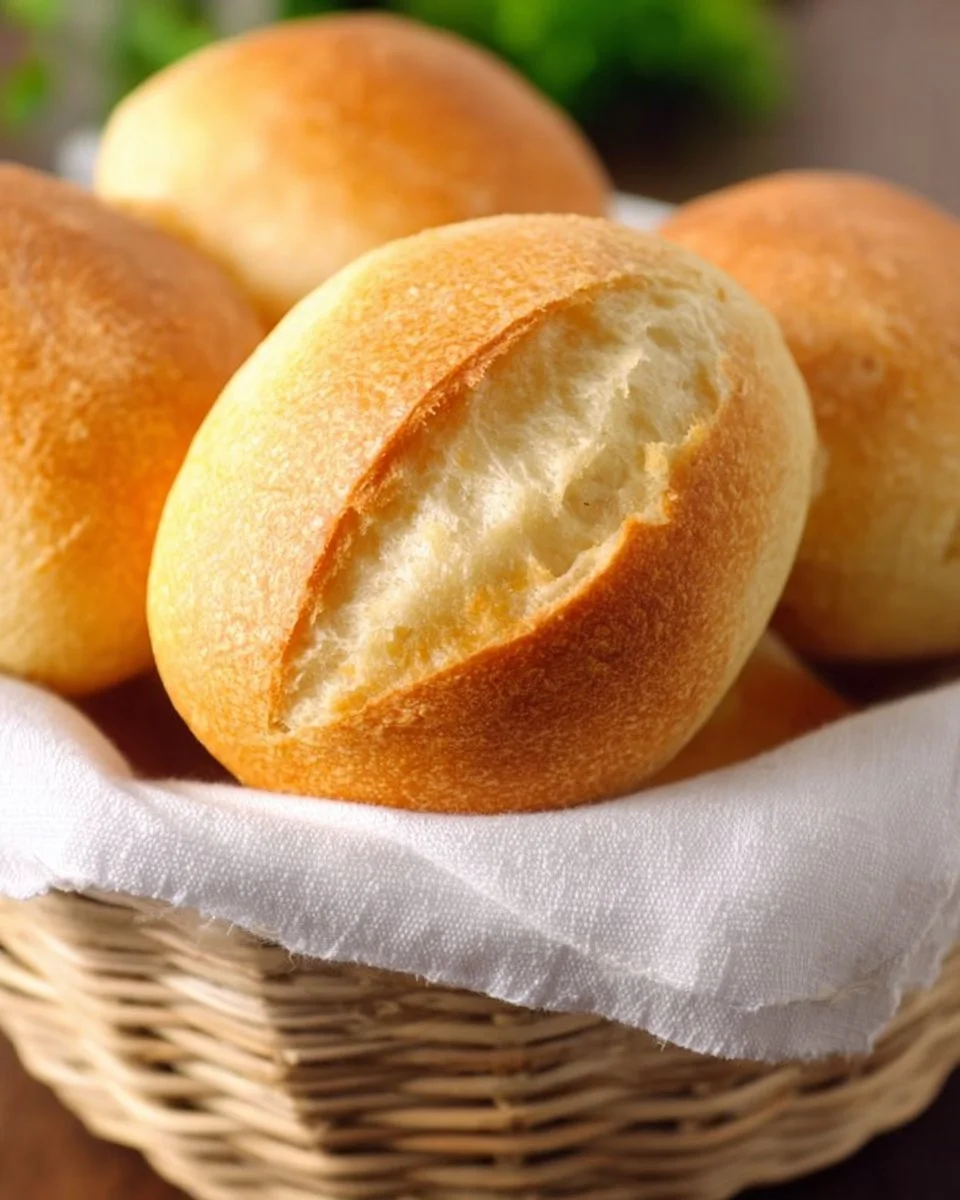
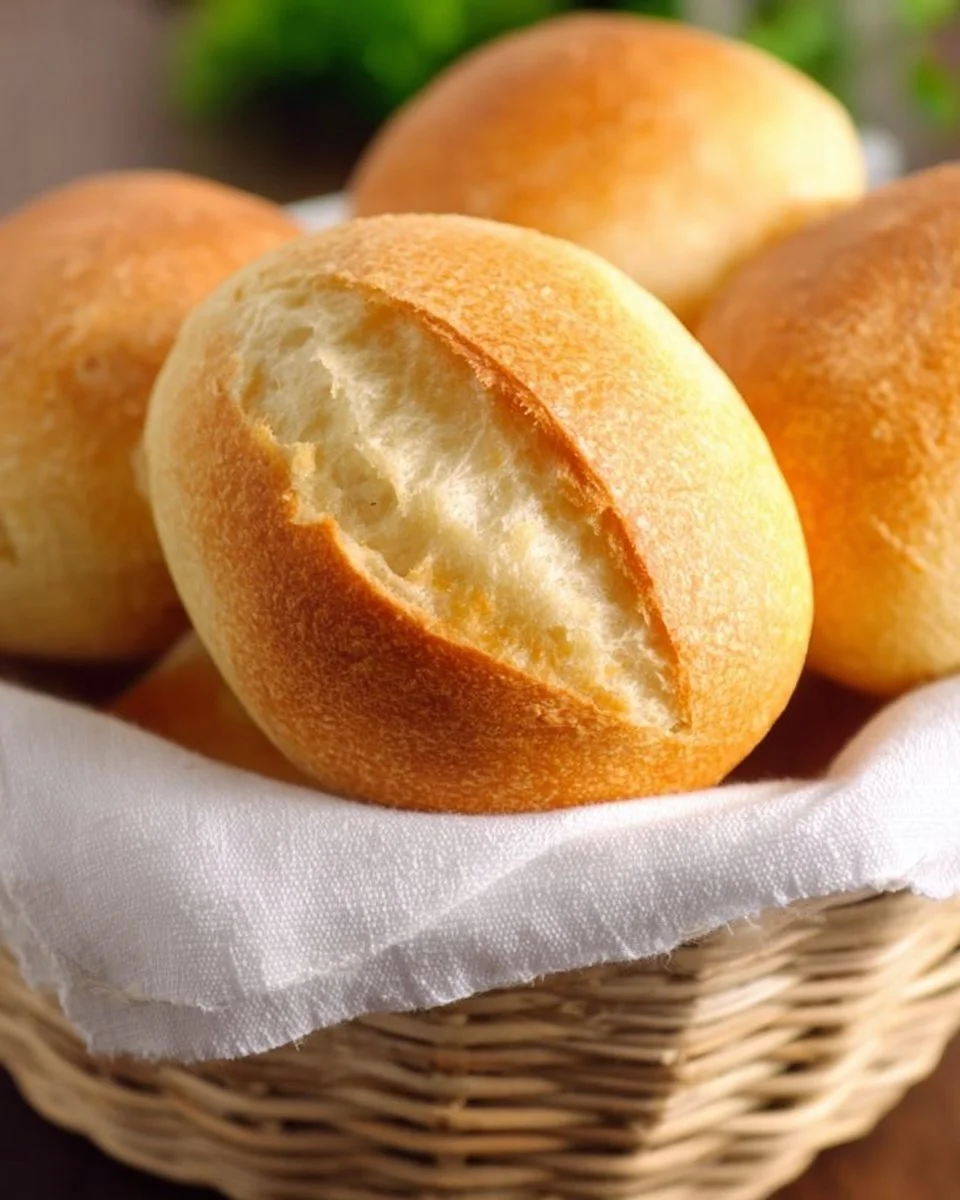
If you’re looking to add a fresh, homemade touch to your dining table, the Mexican Bolillo Bread is the perfect recipe for you. This traditional bread is not only easy to make but also incredibly rewarding. With its soft interior and crisp crust, bolillos are a staple in Mexican cuisine, often enjoyed alongside soups, tacos, or simply slathered with butter. Imagine serving up warm, fresh-baked bread that you made from scratch—it’s a culinary experience that will bring smiles all around!
What Makes This Recipe Stand Out
This bolillo bread recipe shines for a plethora of reasons. First, it’s straightforward enough for beginners yet satisfying for more experienced bakers. The ingredients are simple and likely already in your pantry. Most importantly, you can whip up a batch of fresh bread in a matter of hours. Plus, the aromatic smell of baking bread will fill your home, creating an inviting atmosphere that everyone will love.
How the Recipe Comes Together
The process of making bolillo bread is divided into a few easy steps. You start by combining the dry ingredients with oil and water to create a smooth dough. After kneading, you allow the dough to proof, letting it rise until it doubles in size. Next, you shape the dough into small rolls, let them rest again, and then bake them to perfection. Each step is essential in creating that beloved crusty exterior and chewy interior. Don’t worry—I’ll walk you through each part so you feel confident in your baking adventure!
Ingredients
- Prep Time: 20 minutes
- Cook Time: 25 minutes
- Total Time: 1 hour 45 minutes (includes rising time)
- Servings: 8 bolillos
- 4 cups all-purpose flour
- 1 Tbsp instant or active dry yeast
- 1 1/2 tsp salt
- 2 Tbsp oil
- 1 Tbsp sugar
- 1 1/2 cups water (lukewarm, possibly needing a few tablespoons more)
The key ingredients in this recipe are common but crucial for getting the texture and flavor just right. The all-purpose flour provides the foundation, while the yeast is essential for leavening the bread. The salt and sugar enhance flavor and improve the yeast’s activity, creating a delightful taste in every bite.
Step-by-Step Instructions
Making the Dough
Begin by preparing your dough. In the bowl of your stand mixer, combine the flour, yeast, salt, and sugar. Mix these dry ingredients on a low speed until they are evenly distributed. Once combined, add the hot tap water slowly, allowing it to blend with the dry mixture.
Now, attach the dough hook to your stand mixer, and knead the mixture on low speed for about 10 minutes. You want the dough to become smooth and elastic. If it feels too sticky, you can sprinkle in a bit more flour as needed.
Proofing the Dough
Next, it’s time for proofing! A popular method is to use the Instant Pot. Place your dough in the pot liner, cover it with the lid, and use the yogurt button to let it rise for about 60 minutes, or until the dough has doubled in size. This method creates a warm environment that encourages the yeast to work effectively.
Once you see that your dough has risen beautifully, lightly dust a flat surface with flour. Turn the dough out onto the floured surface and knead by hand for a few more minutes. This step enhances the texture further.
Shaping the Dough
Now comes the fun part: shaping! Flatten the dough into a large circle and cut it into 8 equal pieces. Start rolling each piece into a ball, and then gently shape them into football-like forms, which is the classic bolillo shape.
Arrange the shaped dough on a cookie sheet lined with parchment paper. Lightly brush the tops with a bit more oil, cover them with a dish towel, and allow them to rise again for about 30 minutes. This additional rise will ensure they become fluffy!
Baking the Bread
While your dough is rising, preheat your oven to 425ºF (220ºC). To create a beautifully crusty exterior, prepare moisture for the oven. Place about 1 1/2 cups of water in an oven-safe dish and set it on the bottom rack of the oven.
Just before putting the bolillos in, use a sharp knife to cut a slit across the top of each roll; this serves as an exhaust for the steam. Also, spray the tops of the rolls with water for an added touch of moisture. Place the bolillos on the middle rack.
Initially, bake them at 425ºF for 10 minutes. Then, lower the temperature to 350ºF (175ºC), spray with water once more, and continue baking for an additional 10 minutes, or until they turn a lovely golden brown. The total baking time will be around 20 to 25 minutes.
When done, the bolillos will be crusty on the outside and soft on the inside—a sign that your baking efforts have paid off!
Delicious Ways to Serve Your Bolillo Bread
Serving bolillos is delightful because they pair well with numerous dishes. They are fantastic for making sandwiches filled with your favorite ingredients. Whether it’s a classic torta or a simple ham and cheese sandwich, they can elevate your meal.
Serve them alongside a warm bowl of pozole or any hearty soup to scoop up the delicious broth. You can also use them to create mini sliders for parties or gatherings. On a lighter note, freshly baked bolillos simply spread with butter and a sprinkle of salt make a delicious snack or accompaniment to a meal.
Storing and Reheating Instructions
If you have any leftover bolillos, store them in an airtight container at room temperature for up to 2 days. They can also be wrapped in plastic wrap and then in aluminum foil for longer freshness. If you want to save them for later, freezing the bolillos is a great option. Just place them in a freezer-safe bag or container, and they will last for up to 3 months.
When it comes time to enjoy them again, reheating is simple. You can pop them in a preheated oven at 350ºF (175ºC) for about 10 minutes. This will refresh their lovely crust and warm the soft interior without drying them out.
Expert Tips for Perfect Bolillo Bread
Here are some handy tips to ensure your baking always turns out perfectly:
- Temperature Matters: Make sure your water is lukewarm, around 110ºF (43ºC). Too hot can kill the yeast, and too cold can slow its progression.
- Kneading Technique: Proper kneading is crucial for developing gluten, giving your bread its structure. Don’t rush this step!
- Moisture Is Key: The initial steam helps create a crispy crust. Don’t skip the water dish in the oven.
- Resting Time: Be patient during the rising periods. The longer you let the dough rise, the better the flavor and texture!
Alternative Options and Variations
If you want to switch things up a little, consider adding some flavor enhancements to your bolillos. Here are a few realistic variations:
- Herbs and Spices: Mix in dried herbs such as oregano or basil into the dough for a fragrant twist.
- Cheesy Bolillos: Incorporate shredded cheese like queso fresco or mozzarella into the dough for a richer flavor.
- Whole Wheat Version: For a healthier option, substitute half of the all-purpose flour with whole wheat flour.
- Sweet Bolillos: Add a teaspoon of cinnamon or vanilla extract for a slightly sweet version that is perfect for breakfast.
Frequently Asked Questions
1. Can I use active dry yeast instead of instant yeast?
Yes, you can use active dry yeast. Just dissolve it in lukewarm water before adding to your dry ingredients.
2. How do I know when the dough has risen enough?
When the dough has doubled in size, it’s ready for the next step. A quick poke test is also handy: if it springs back slowly, it’s ready.
3. What if my bolillos come out too hard?
This could be due to over-baking or not enough moisture in the oven. Ensure you spray water on them before baking.
4. Can I make the dough ahead of time?
Absolutely! You can refrigerate the dough after the first rise. Just let it come to room temperature before shaping and baking.
5. Is it possible to make gluten-free bolillos?
Yes, you can use a gluten-free all-purpose flour mix, but the texture may vary slightly. Add xanthan gum if your blend doesn’t already include it.